Getting Started with Underwater Photography – Part 7 – Balanced Exposure Camera Settings
Oh-kay! It’s 2013 and we are going to take some killer pictures of fishes! If you’d like to catch up with the previous episodes of this series on starting underwater photography, they are here.
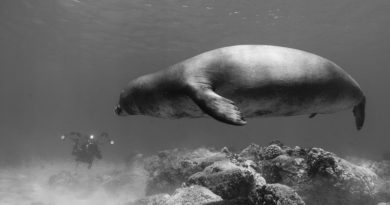
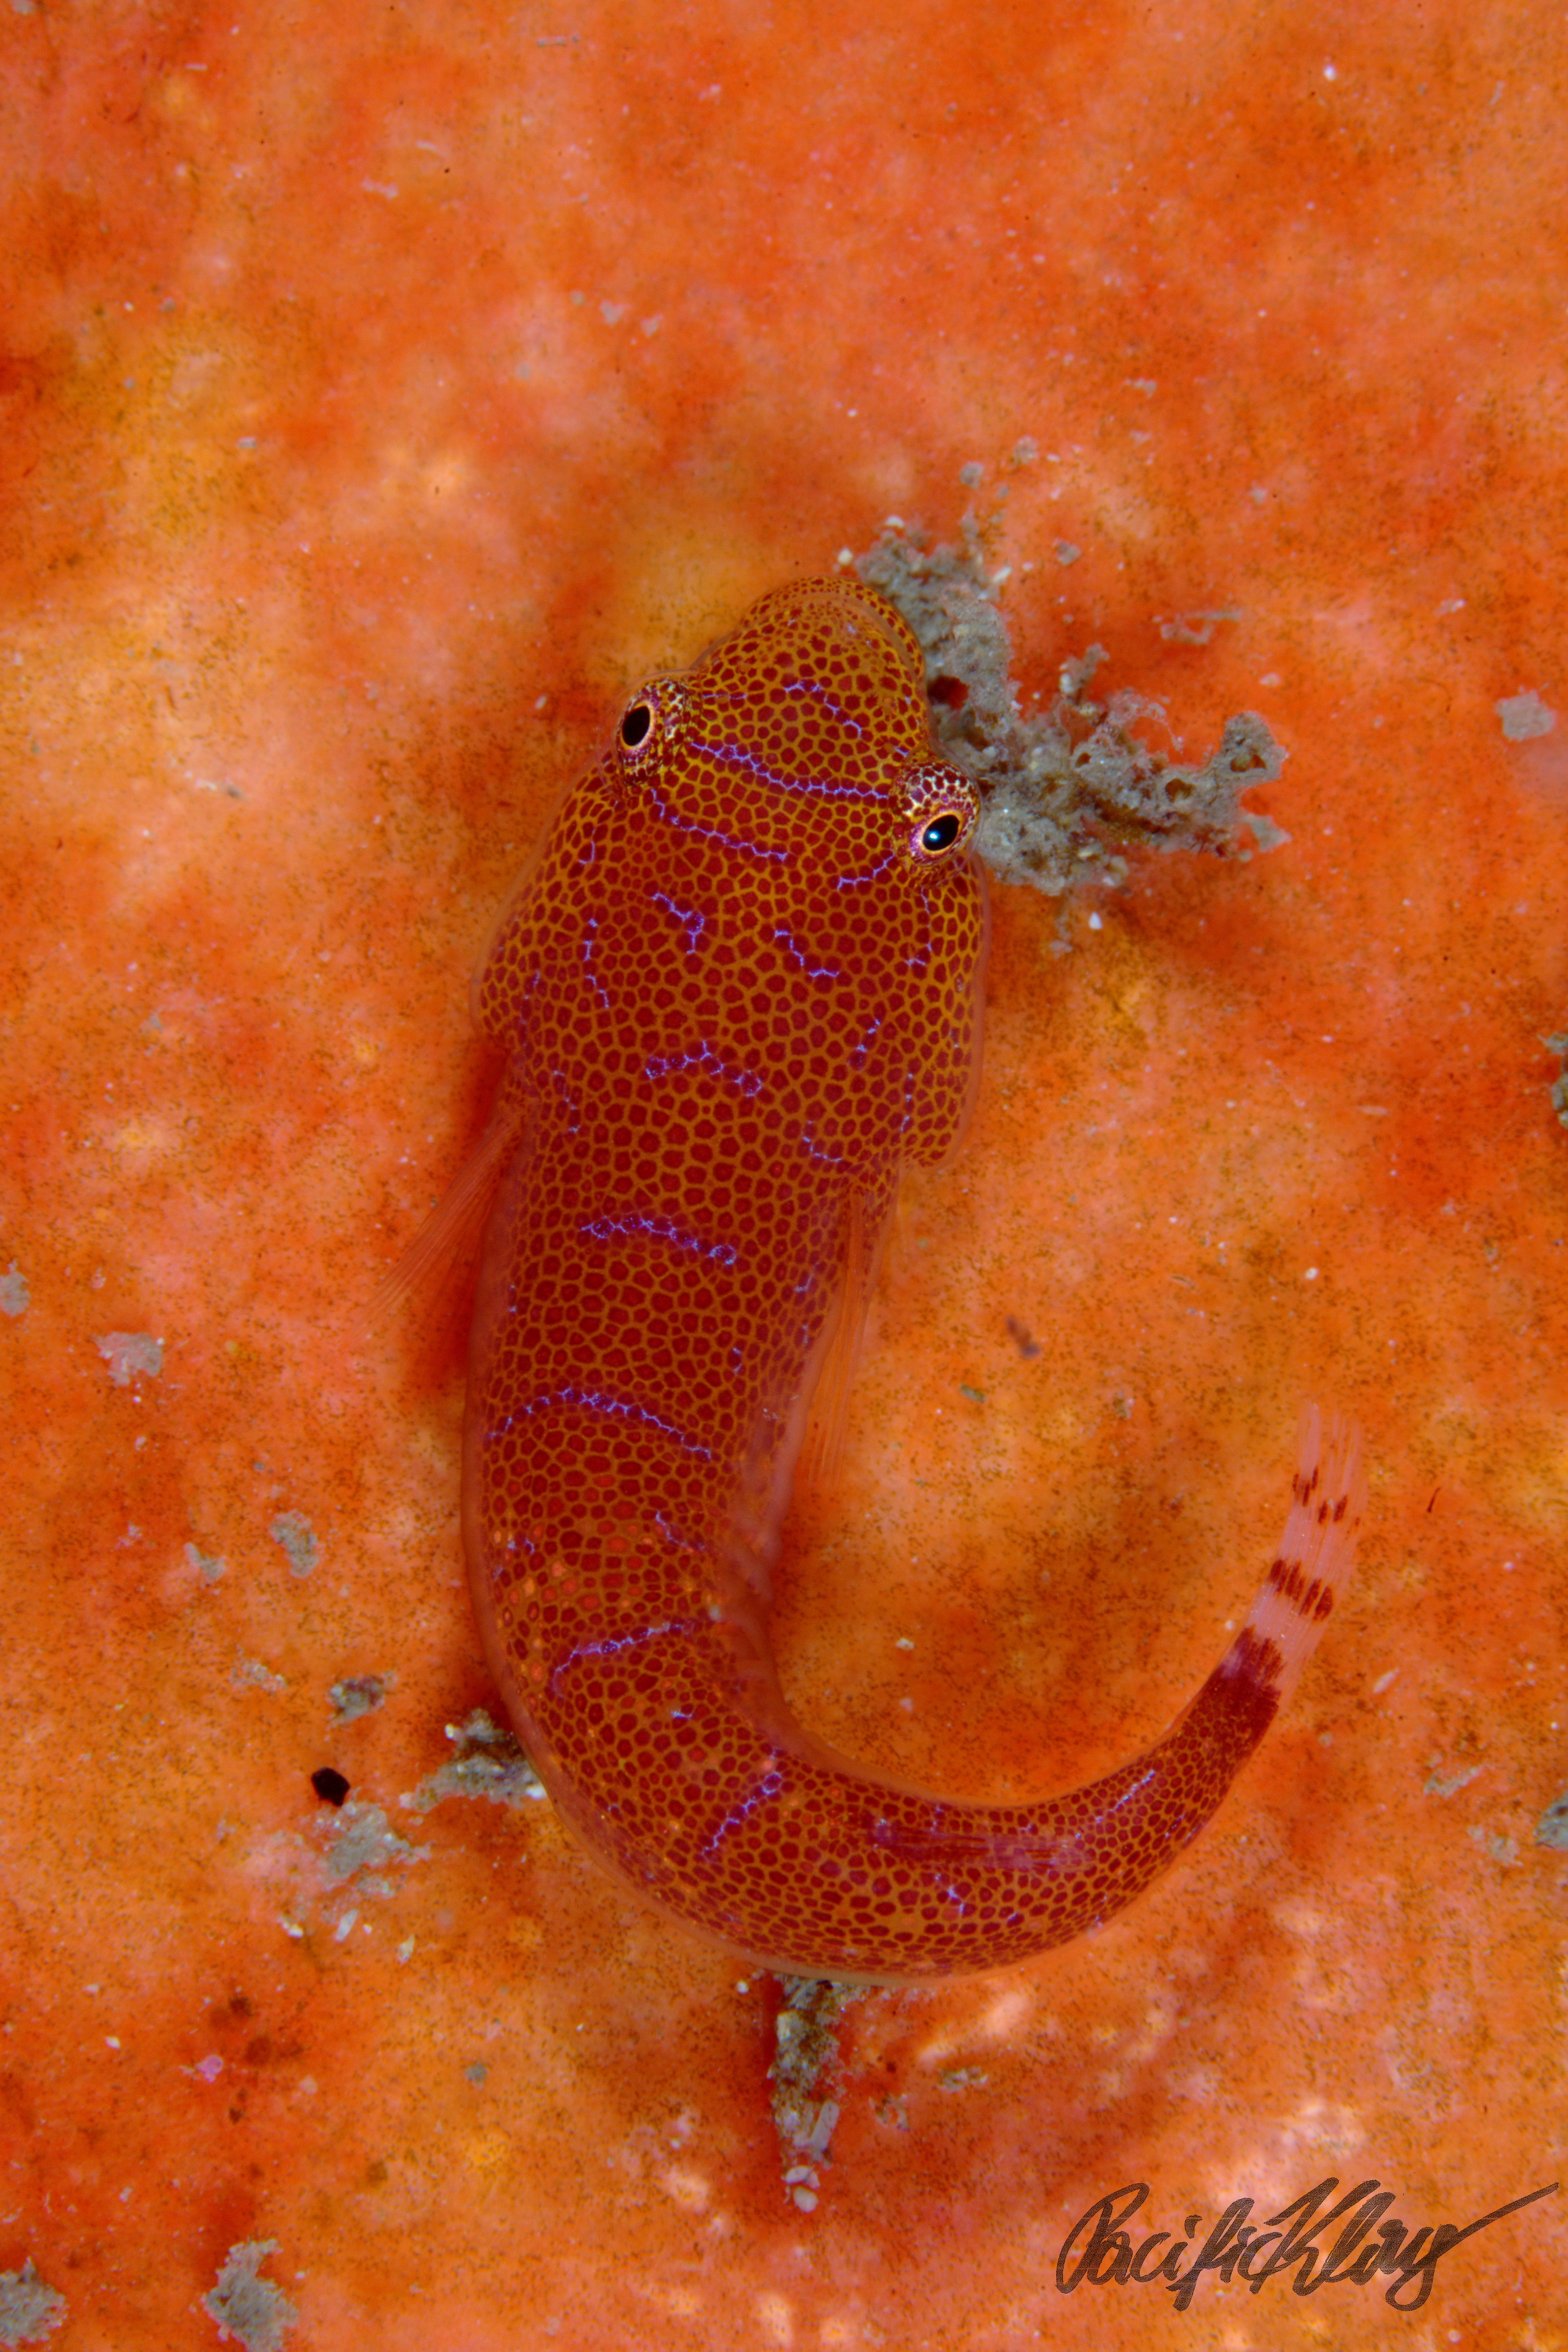
You are twenty meters deep on a coral wonderland in the Philippines. You see a small crab on the reef wall, and you decide to take a photograph. Your camera’s strobe will be the sole light source, and this situation is called balanced exposure photography.
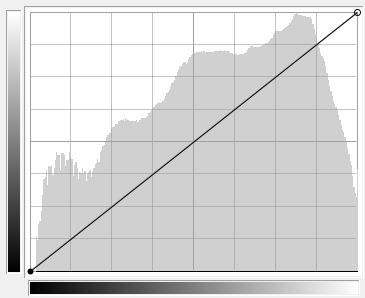
What is exposure? That is the photographic term for getting just the right amount of light onto your film (in the old days) or digital sensor. Too little light means that the image will be underexposed, and details in the darker part of the photograph will be an unsightly grayish area with no chance of making out the details. In the other extreme, an overexposed photograph will have white blobs where you can’t discern details. By setting the camera right, we can avoid such cases.
This is relatively easy when shooting such that all of the light reaching the fish or seastar in front of your lens comes only from one source, your strobes, the aforementioned balanced condition. There are three parameters we need to control to get correct exposure: the sensor’s sensitivity (ISO), the shutter speed and the aperture.
The ISO sensitivity is easy – the higher the value, the less light the sensor needs to detect it. The downside it that at high ISO values, your images will look grainy and noisy. And this will be more so, the cheaper your camera is. Hence, chose the lowest possible ISO for the shot you want to take – something like ISO 100 or 200 for most cameras. If you can’t get the picture with these values, you are not close enough, or the battery in your strobe is empty!
The shutter speed is the time light can reach your sensor and contribute to the photograph. It’s is also not all that hard to set if you are shooting in a balanced light situation – it actually does not matter that much! A slow shutter speed will blur fast moving objects in your pic – but in return, you will get more sunlight onto your sensor. But, hey, in the balanced conditions we are discussing, all the light comes from your strobe, none from the sun. So, there is no need for compromising, and you can pick a fast shutter speed to get sharp images. The limit is the duration of your strobe’s emitted flash, or the briefest shutter speed your camera manages to synchronize with the strobe. Exactly what shutter speed value that is, you either have to find out via RTFM or you have to try. Just make the speed faster and faster and observe when you see an effect on the resultant shots. With my setup, that value is 1/200 s.
THE important choice in camera settings in balanced exposure conditions is the right aperture value. A large aperture value means that you camera’s iris is closed down to a narrow hole, and straylight is excluded to a large degree. With such settings, you will get a wide depth of field: stuff will be in focus from near to far. If you open the iris, your sensor will enjoy more light, but the depth of field will decrease to a narrow plane around your focal distance. You will pretty much only see the things in focus which you had precisely focused on. There will be a minimum aperture (= maximum f-stop value) for the amount of light your strobe emits and the distance the to-be-photographed fish is away. As explained in the episode about the choice of the right strobe, that’s given by the strobe’s guide number: guide number = distance x f-stop. Taking a photograph 2 meters away at f10 will give the correct exposure with a strobe with a guide number of 20 (2 x 10).
Sometimes you might not want to have a large depth of field, for instance if you’d like to blur out the background behind an attractive nudibranch. Then you have to adjust your strobe’s power, or aim it slightly away from your object, to reduce the light in order to still get correct exposure.
Confusing? Oh, well. Read it again! Or, even better, think about it, and get into the water and play around with your camera’s settings. Pick something which does not swim away, like a sea cucumber, and shoot the same subject with different settings. Then look at the results, look at the pix’s histograms, and think again.
Next week: Photographing Godzilla as he is rising from the sea floor, or exposure with unbalanced camera settings (whatever option I’ll get more fan mail for).