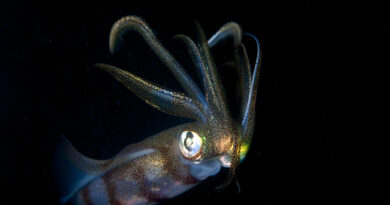
Getting Started with Underwater Photography – Part 6 – Strobe Positioning
Dear student, we are halfway there between the mere wish to be an underwater photographer, and the final state of fame, fortune and photographer-groupies stuck to your chest. Not. But, at least prints of your own impressive photographs on your living room wall I can promise.
You have chosen a camera, a strobe, and assembled all of that properly. You have learned to control your buoyancy well, and you know how to get into the water without destroying your camera gear. Now what? You need to put your strobe(s) in the right position.
If you are shooting macro (small marine animals), you want to achieve one thing: get the light as evenly onto the fish or slug you intend to photograph. You don’t want any unsightly shadows. Ideally, for that purpose you would have a circular strobe, as it is available to stick on the front of your macro lens for land-based photography of small things. This won’t fit in your underwater camera housing, though. We hence have to position the strobes so that they mimic a ring-strobe – close to, and behind the lens, aimed slightly inward.
Things change a bit when you have either black, white or reflective (for instance, silvery fishes) animals in front of your lens. Then, odd strobe angles are the way to go. Point them tangentially, and not directly at your subject, and use different angles if you have two strobes. You want to avoid a direct reflection of the strobe’s light, which would lead to blown out parts of your image. In the case of black animals, you need to hit them with odd angles to create different shades of (almost) black to avoid having a picture with a boringly uniformly dark subject. Even the darkest flatworm or nudibranch will show some shades of very-dark-blue or super-dark-green when the strobes are coming at them from the sides.
Things are different again when you are shooting wide angle. In that case, you will usually not be able to provide all the light for your photograph from the strobes. What they will do is to illuminate the foreground, and add some color to the scenery close to the lens (remember, red gets absorbed very quickly at depth). The sponge or coral bommie right in front of you is what you want to flood as evenly with strobe light as possible in order to rescue it from blue-gray drabness. And, when doing so you, it is very important to reduce backscatter – the ugly “snow” that is the result of light bouncing off the particles in the ocean water between the subject and the lens.
To avoid backscatter, don’t be greedy for light. Put the strobes in a plane behind the lens, and aim them outward. In essence, you want to send as little light directly through area in front of your lens, but rather get it onto the subject from an angle. Long strobe arms also come in handy here to put distance between the strobes and the lens. The murkier the water is, the more you need to do all that (and the closer you need to get to the object of your photographic desires). If the scene you want to shoot is asymmetric, like a reef with a piece of coral to your left closer to you, then you need to put the left strobe further back.

These tips are general guidelines. When it comes to strobe settings, I can strongly recommend to experiment! Every camera/strobe setup, light & visibility situation and subject will need somewhat different measures to get the light delivered evenly, and to reduce the backscatter. Just as you can bracket (systematically vary) exposure and shutter speed in photography, you can also vary the strobe positions for a specific underwater scene.
Nest week, I’ll write about balanced exposure camera settings in underwater photography! Don’t forget to check back.
